
RASPBERRY Pi - a small all-in-one machine able to perform multiple day-to-day tasks easily and for a cost of a low-end smartphone.
Raspberry Pi is not your basic computer which you can plug in and start working on it.
It can do most of the things you want, all you have to do is to program this baby like you want it.
It can do most of the things you want, all you have to do is to program this baby like you want it.
Most of the gamers have a beastly gaming rig installed in their study where they can play
everything but on a monitor.
What if, you are in a mood of sitting on a sofa in your living room watching television on that big, flat LED installed with awesome sound effects.
One way is to install both LED and gaming rig at one place.
Another way is to pickup your PC and setup in the living room for the time being.
Both of the above ways are feasible but are very time and energy consuming tasks for that 1 hour of amusement.
What if you can stream your PC on that LED without that hard work?
With Raspberry Pi, you can do this without using those costly streaming devices. All you have to do is : DO-IT-YOURSELF.
How does it works?
NVIDIA designed the GameStream protocol so that they could get a slice of the living room/mobile gaming pie by streaming the games from your PC to your HDTV (via an auxiliary device or box that serves as a client).
We really, really, want to stress that last bit to clear up any confusion. This entire system hinges on you having a PC capable of playing the game and does not, in anyway, give you a computer attached to your TV capable of playing the games independently. The device attached to your TV is significantly less powerful than your actual PC and merely serves to display the game stream from your computer.
Let’s take a look at the gear you need.
1. A GPU And Computer That Supports GameStream
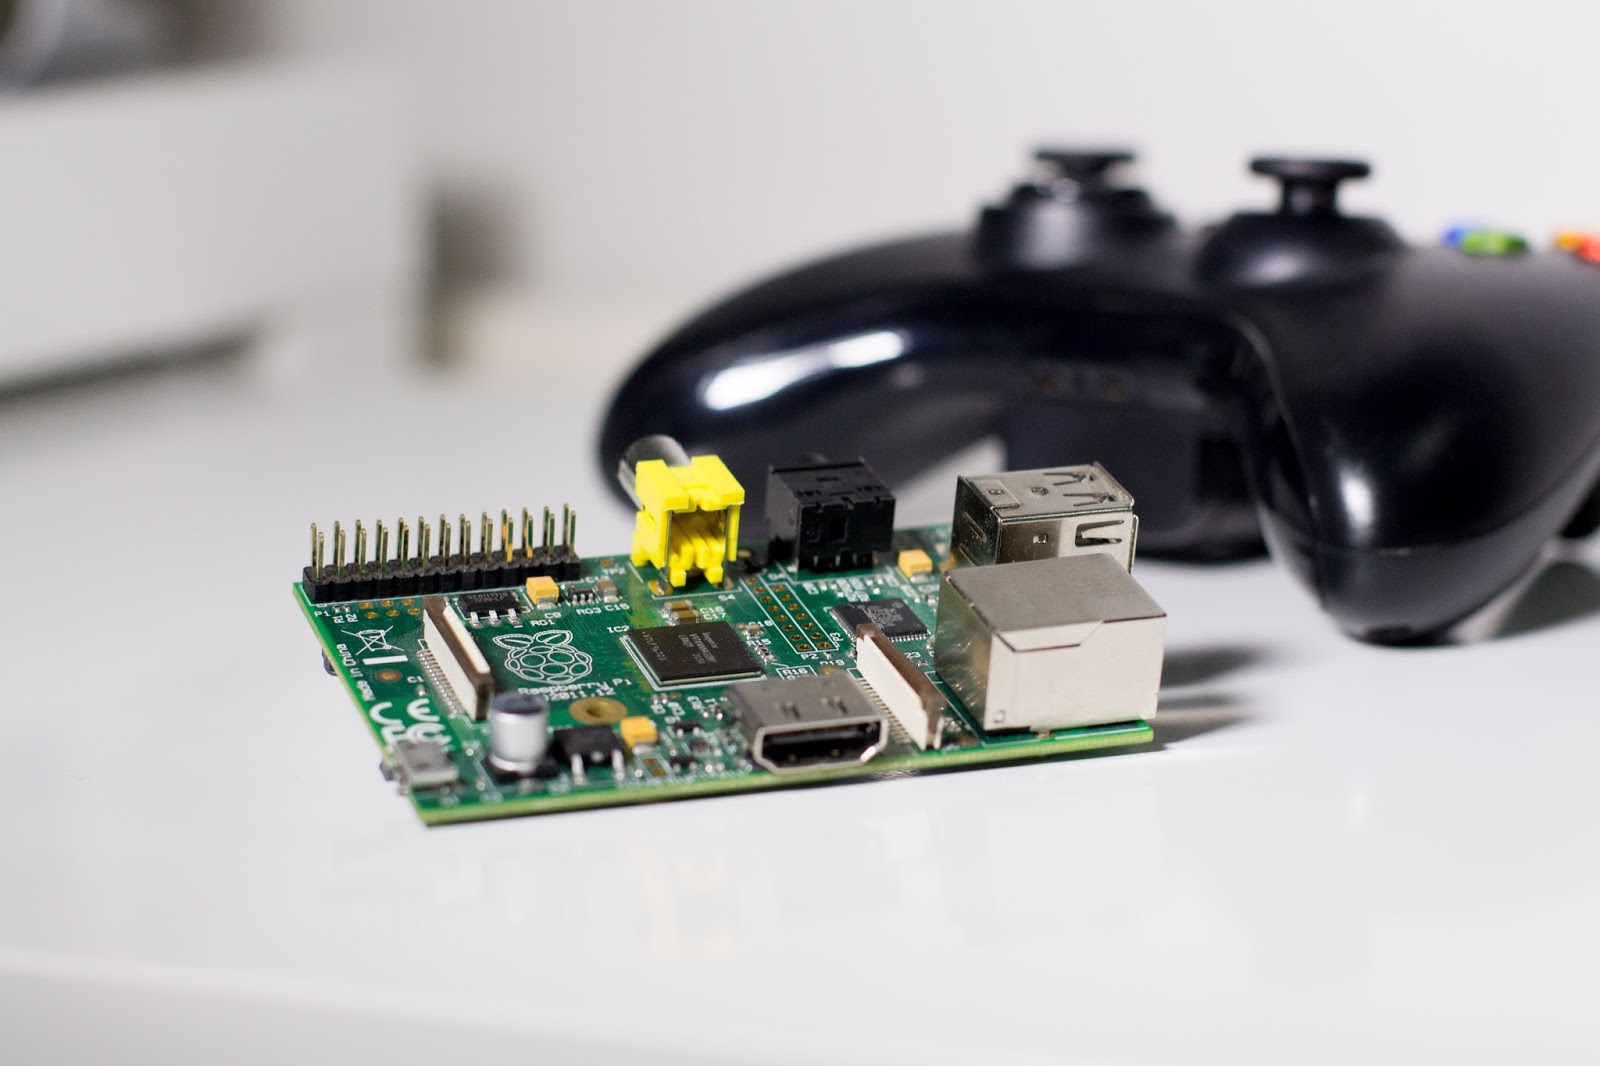
2. A Raspberry Pi Microcomputer - Moonlight Embedded
3. Remote Peripherals
4. Steam
CONFIGURING YOUR PC:
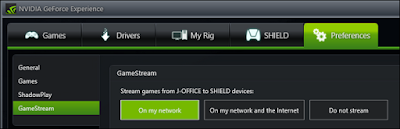
On the PC side of things setup is really simple. Your PC is already up and running, you already have a GeForce card installed, and, if you already installed the GeForce Experience when you installed your GPU, then you actually have nothing left to do!

CONFIGURING YOUR RASPBERRY PI:
This tutorial assumes you have already installed Rasbian on your Raspberry Pi and you can boot it and access the command line (either directly if you configured it as such or by exiting the desktop to return to the command line). If you have no idea how to access command line on Rasbian, refer to search engines for links on configuring Raspberry Pi for first use.
Enter the following command while logged in as the root user on your Pi (the default is username “pi” password “raspberry”).
sudo nano /etc/apt/sources.listThis will open up your repository sources list. Add the following line to the list.
deb http://archive.itimmer.nl/raspbian/moonlight wheezy mainExit nano by pressing CTRL+X, save the document when prompted. Next, we’ll install Moonlight. Enter the following commands.
apt-get updateapt-get install moonlight-embedded
When prompted answer all the questions “Y” to install all the necessary files.
The final step is to pair your gaming PC to the Pi. Again at the command prompt on the Pi, enter the following command where X.X.X.X is the local network IP address of the gaming PC.
moonlight pair X.X.X.XThe command will generate a certificate and a four digit PIN. On your computer screen you’ll see a popup like so.

Playing Your Games From Your Living Room
You’ve installed GeForce Experience on your PC, you’ve installed Moonlight on your Raspberry Pi, now it’s time to hook up the Pi to your TV (if it isn’t already hooked up) and use a simple command to link the Pi to your PC and enjoy your games.

The format for the moonlight streaming command is as follows, where again X.X.X.X is the IP of the gaming PC.
moonlight streaming [options] X.X.X.XWhat goes in the [options] section? While you can leave it empty and let everything run in the default settings there are a few reasons you may wish to tinker with the switches. Here are all the available command switches you can use in the options section.
-720            Use 1280x720 resolution [default]
-1080           Use 1920x1080 resolution
-width          Horizontal resolution (default 1280)
-height         Vertical resolution (default 720)
-30fps          Use 30fps
-60fps          Use 60fps [default]
-bitrate        Specify the bitrate in Kbps
-packetsize     Specify the maximum packetsize in bytes
-app            Name of app to stream
-nosops         Don't allow GFE to modify game settings
-input          Use as input. Can be used multiple times
-mapping        Use as gamepad mapping configuration file (use before -input)
-audio          Use as ALSA audio output device (default sysdefault)
-localaudio     Play audio locally
If you’re having issues when using the defaults you can use the command switches to make adjustments.
This is the moment where, if you’re anything like we are when it comes to geeky projects and gaming, you’ll just sit there stunned at how amazing the whole thing is. There you’ll be, sitting in your living room looking at your TV but playing games that are actually on your PC in the other room… and it’ll all work shockingly smoothly with crisp graphics and sharp sound. The future truly is now.


0 Comments